This widget could not be displayed.
This widget could not be displayed.
Turn on suggestions
Auto-suggest helps you quickly narrow down your search results by suggesting possible matches as you type.
Showing results for
- English
- Other Products
- FAQ
- [ROG Accessory] Armoury II -Keyboard and mouse ins...
Options
- Subscribe to RSS Feed
- Mark as New
- Mark as Read
- Bookmark
- Subscribe
- Printer Friendly Page
- Report Inappropriate Content
Community Manager
Options
- Article History
- Subscribe to RSS Feed
- Mark as New
- Mark as Read
- Bookmark
- Subscribe
- Printer Friendly Page
- Report Inappropriate Content
on 01-29-2024 06:01 PM
[ROG Accessory] Armoury II -Keyboard and mouse installation/removal instructions
[ROG Accessory] Armoury II – Installation SOP
[ROG Accessory] Armoury II – Uninstallation SOP
[ROG Accessory] Armoury II – Introduction of keyboard product
[ROG Accessory] Armoury II – Introduction of mouse product
[ROG Accessory] Armoury II – Installation SOP
Visit ASUS Official site and enter the model name of your product.
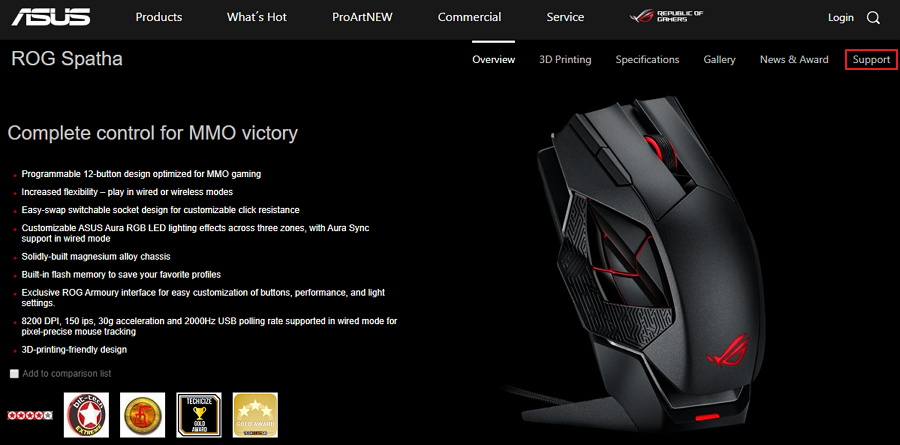
Click [Support].
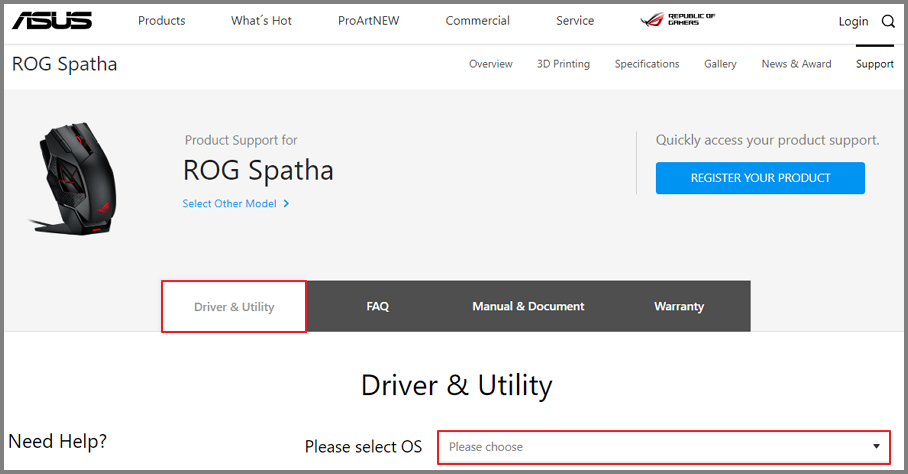
Click [Driver & Utility] and select your OS version.
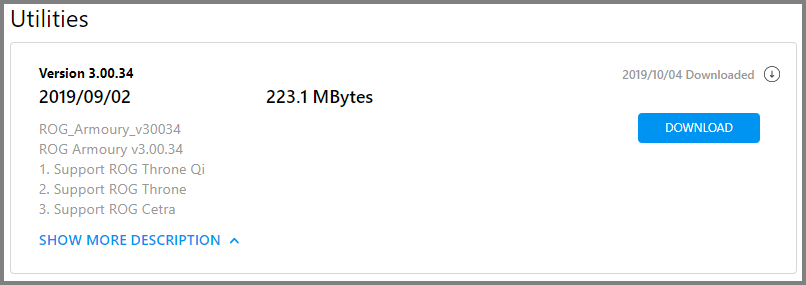
Download the driver you need at this page. (Suggested to download the latest version)
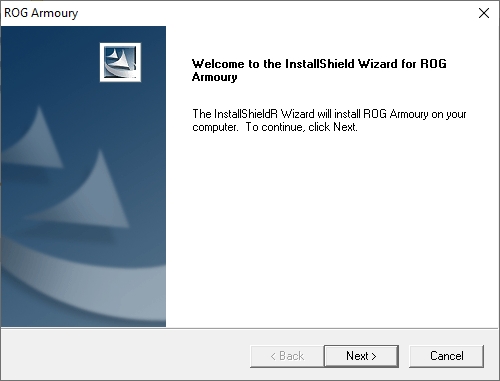
Extract the ROG_Armoury zip file and click [ASUS Setup].
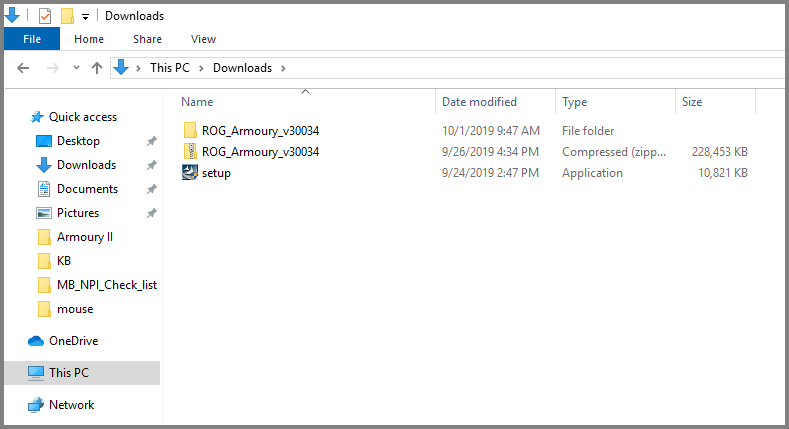
Follow the instruction to install ROG Armoury.
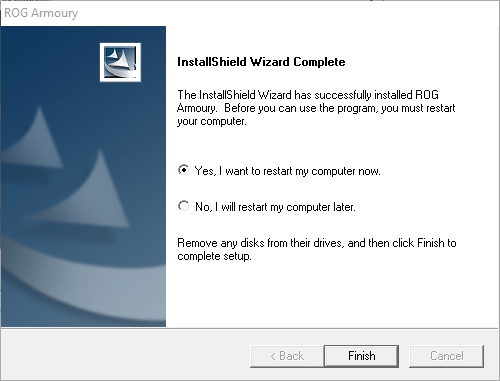
Restart your computer to start using ROG Armoury.
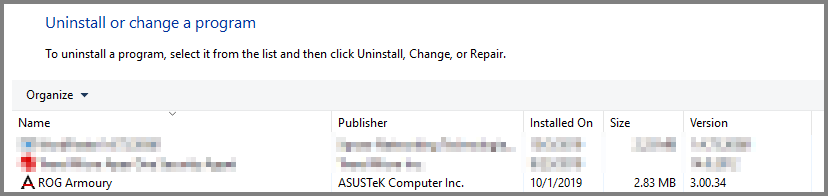
[ROG Accessory] Armoury II – Uninstallation SOP
Open Control Panel, click Programs and Features.
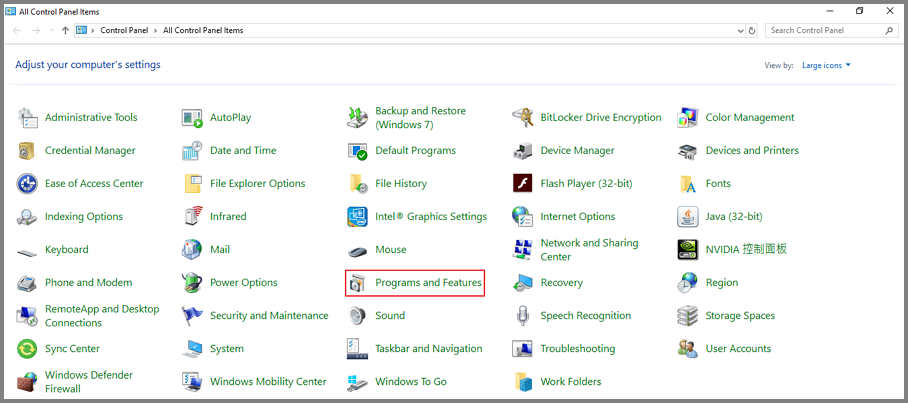
Click ROG Armoury program to uninstall.
[ROG Accessory] Armoury II – Introduction of keyboard product
ROG Armoury II main menu
All of ROG accessories connected to user’s computer show on ROG Armoury II.
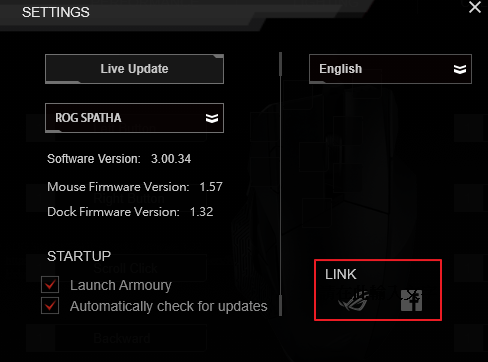
ROG Armoury II settings
Click tool button to start settings.
Click [Live Update] to update the software and firmware.

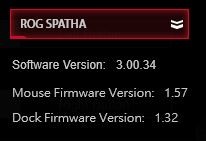
3. Click the drop down menu to check software version and firmware version of your accessory.
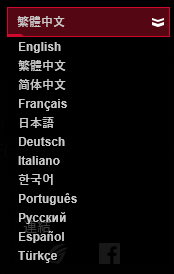
4. Click language drop down menu to change the language.
5. Link to ROG Official Website and ROG Facebook Fanpage.
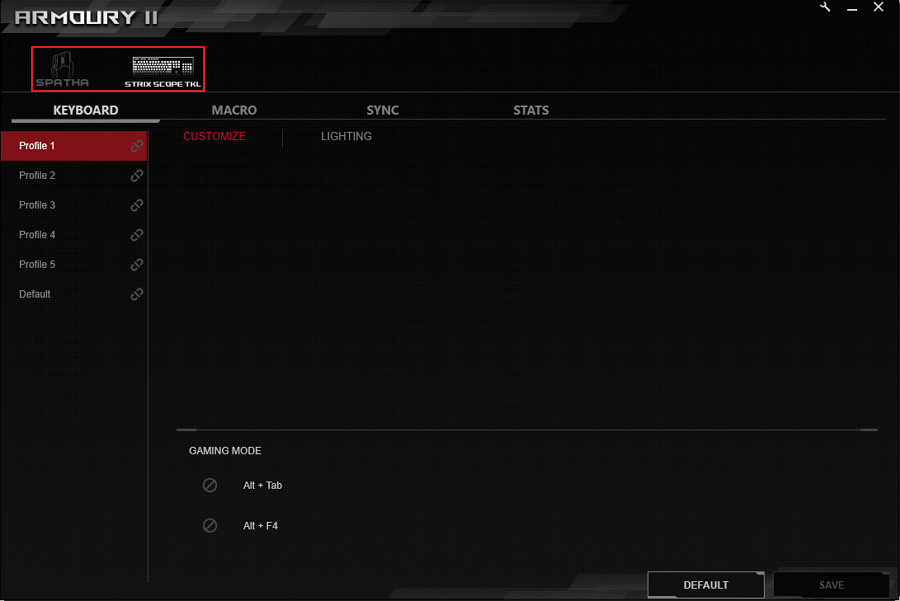
ROG Armoury II menu introduction
KEYBOARD MENU
Choose keyboard profile to customize the functions including button, lighting, etc.
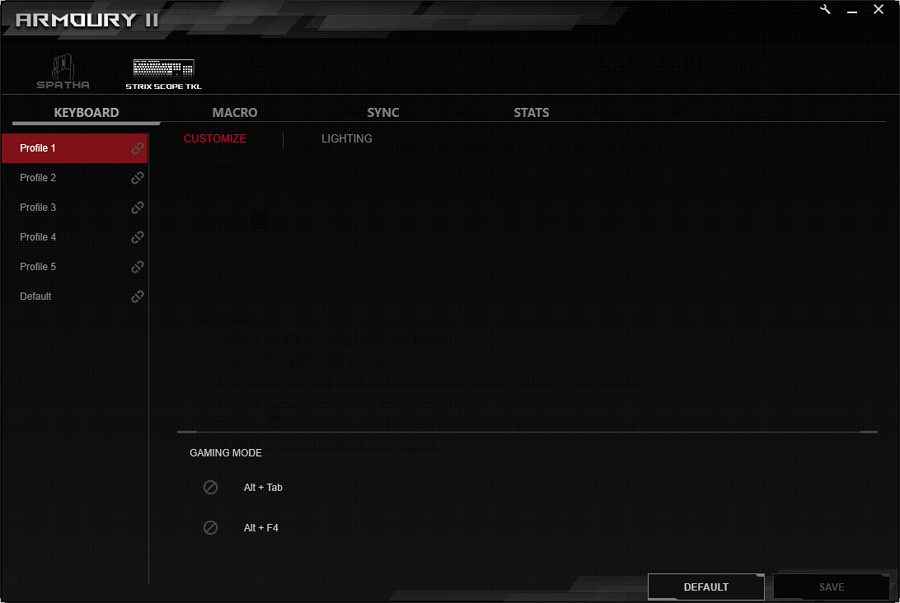
Click to link profile to the program.
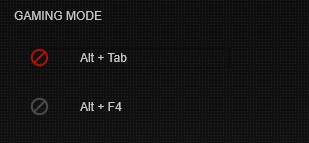
CUSTOMIZE
You can customize the keyboard functions by clicking the button below.
LIGHTING
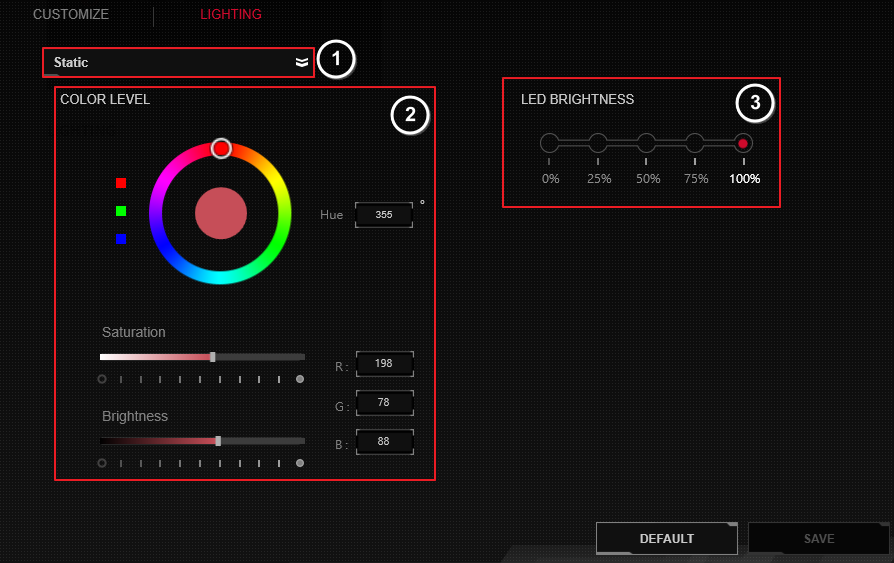
Choose the light effect from drop-down list.
Adjust the color, saturation and brightness.
Choose brightness for wired mode and wireless mode.
Click SAVE to save the change.
MACRO MENU
Keyboard Macro allows you to record a sequence of keyboard actions to perform repetitive tasks. Follow these steps to create a macro:
Click to create, delete and load a macro.
Click RECORD button to start recording the actions.
Click STOP button to finish recording the actions.
Click SAVE to save this macro.

5. Follow the instruction to assign the button with macro function.
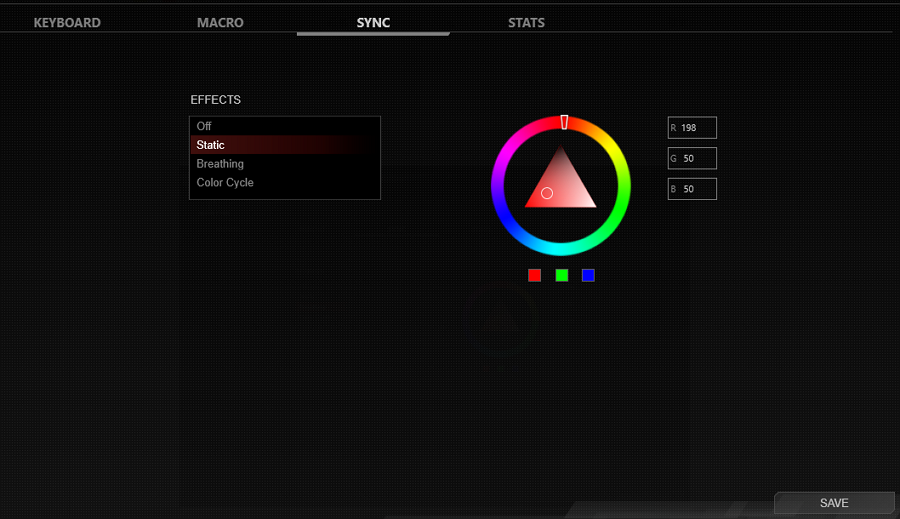
SYNC MENU
All the accessories that connect on this computer can be set as the same color.
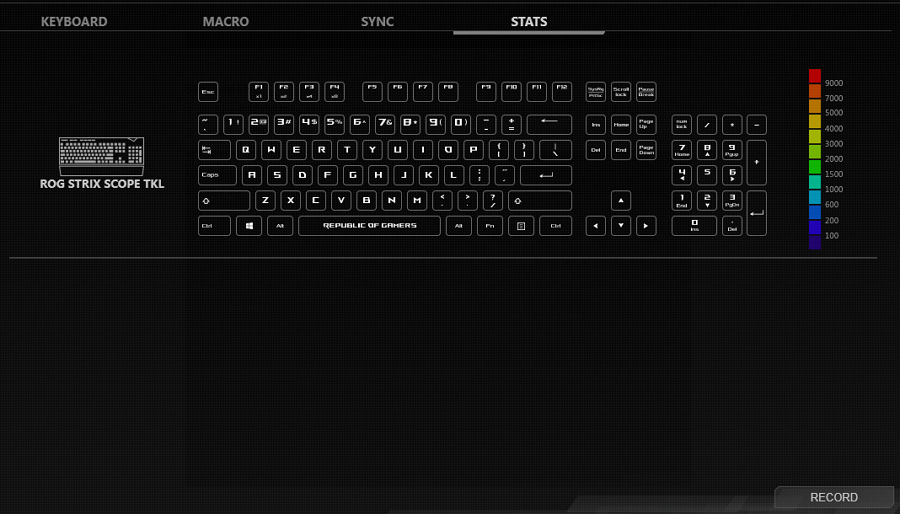
STATS MENU
Click RECORD button to start recording the click times for each button.
Click STOP button to stop recording.
FAQ
Question1: My Armoury II is unable to detect my keyboard.
Answer1: Please remove the keyboard from your computer, and plug it again.
[ROG Accessory] Armoury II – Introduction of mouse product
*Functions may differ from one another. The following article takes ROG SPATHA for example.
ROG Armoury II main menu
Follow the installation SOP in related topics to install Armoury II software. After installing, click the icon to open Armoury II.
All of ROG accessories connected to user’s computer show on ROG Armoury II.
ROG Armoury II settings
1. Click tool button to start settings.
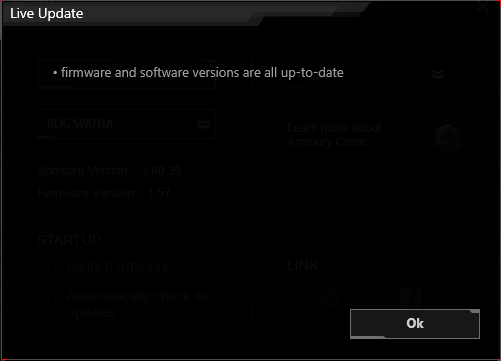
2. Click [Live Update] to check if software and firmware need to be updated.
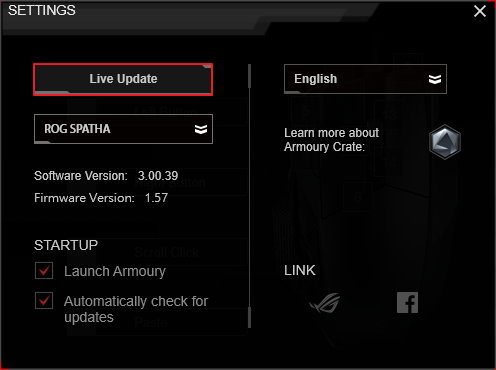
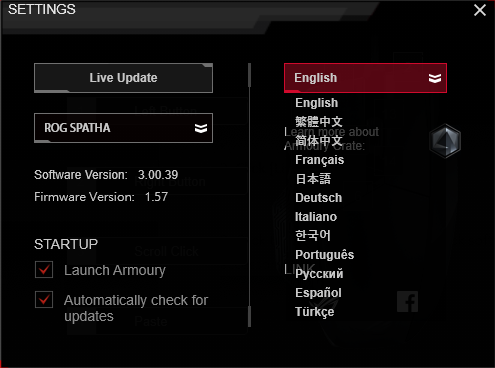
3. Click language drop down menu to change the language.
ROG Armoury II menu introduction
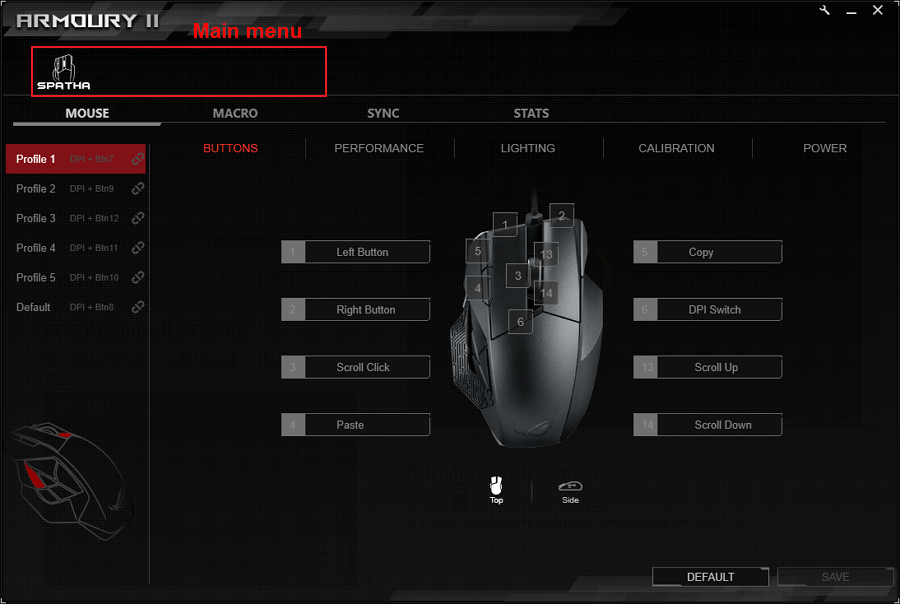
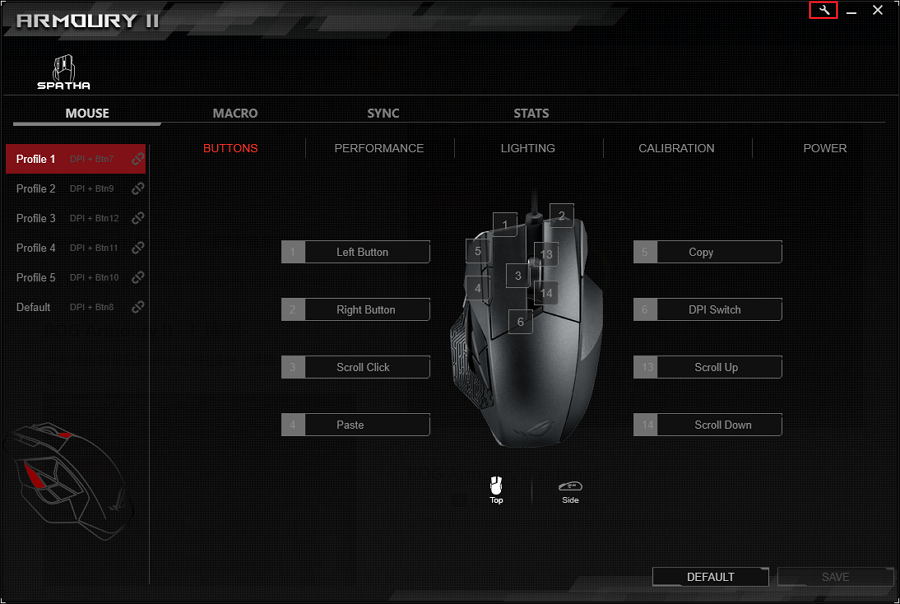
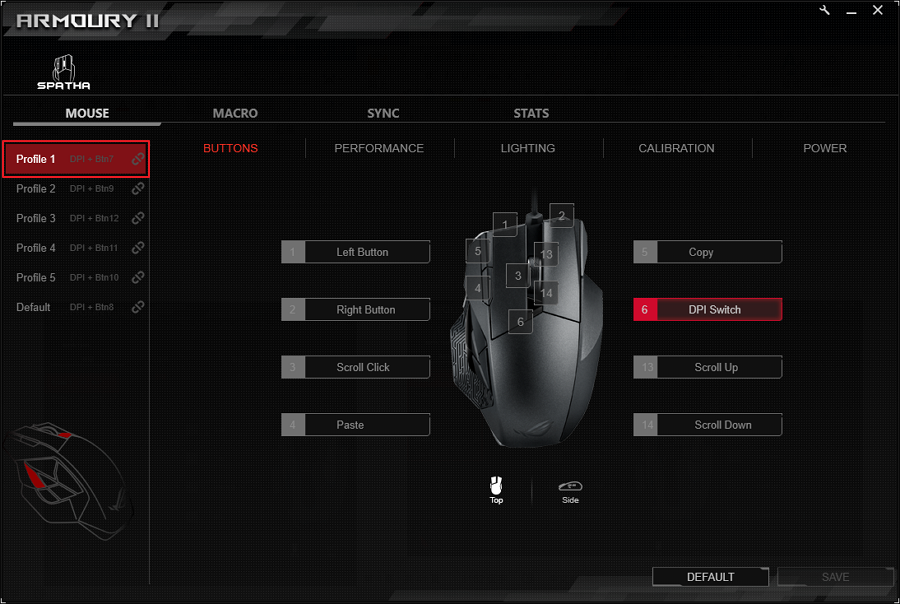
MOUSE MENU
Profile
1. Choose mouse profile to customize the functions including button, performance, lighting, etc.
2. Profile quantity is different from each type. Take ROG SPATHA for example, profile quantity is six.
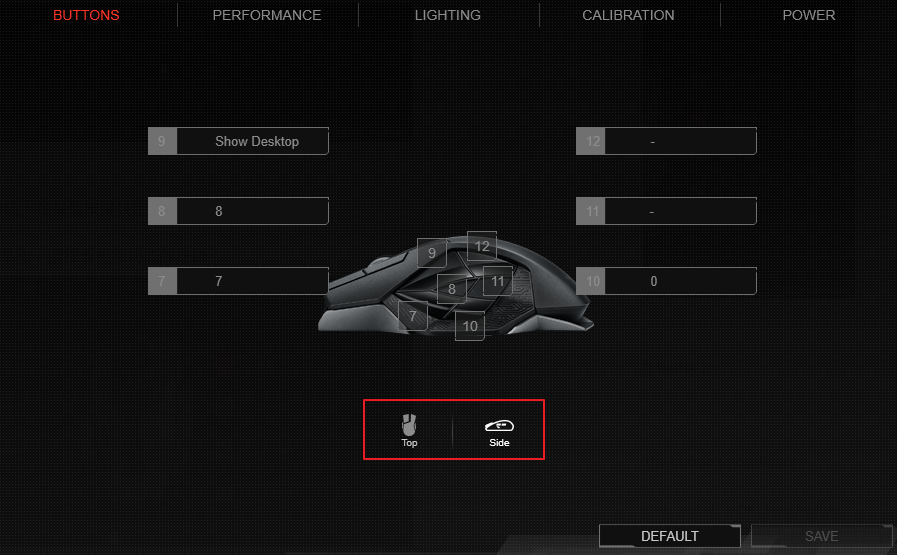
3. Take ROG SPATHA for example, press hot key DPI+Btn7 (Btn is button) will switch to profile1, press hot key DPI+Btn9 will switch to profile2. Please refer to the schematic for button position.
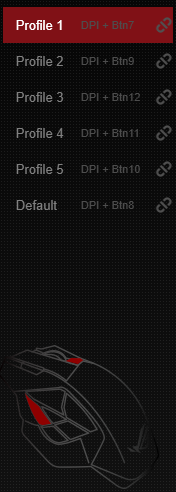
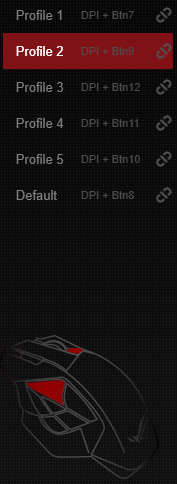
(Schematic)
3. Mouse will read the last profile that you save when you start the computer.
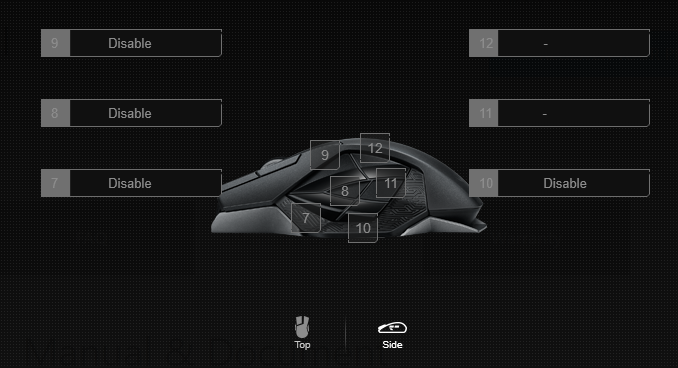
BUTTONS
Use Buttons function to setup each button with different function.
*Left button is unable to change.
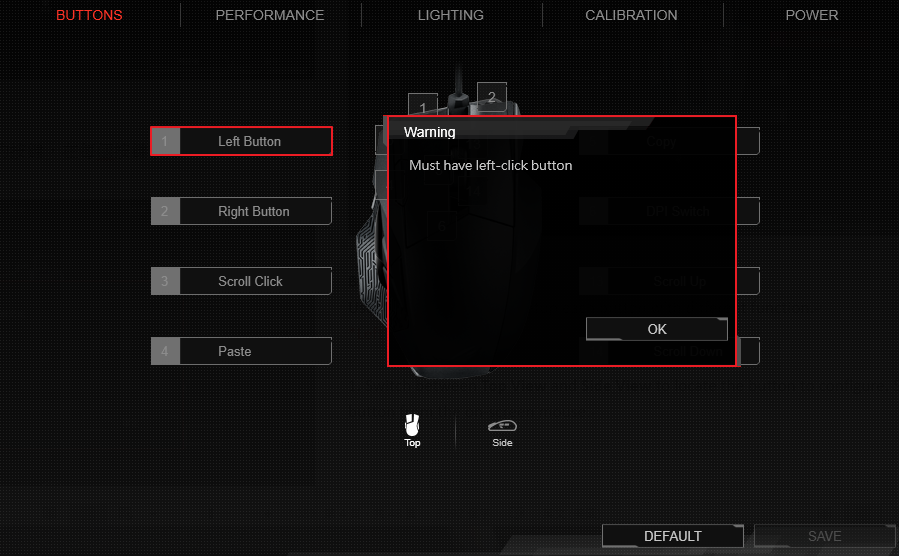
1. Switch between Top View and Side View to locate the button to configure. Select a button from the on-screen mouse.
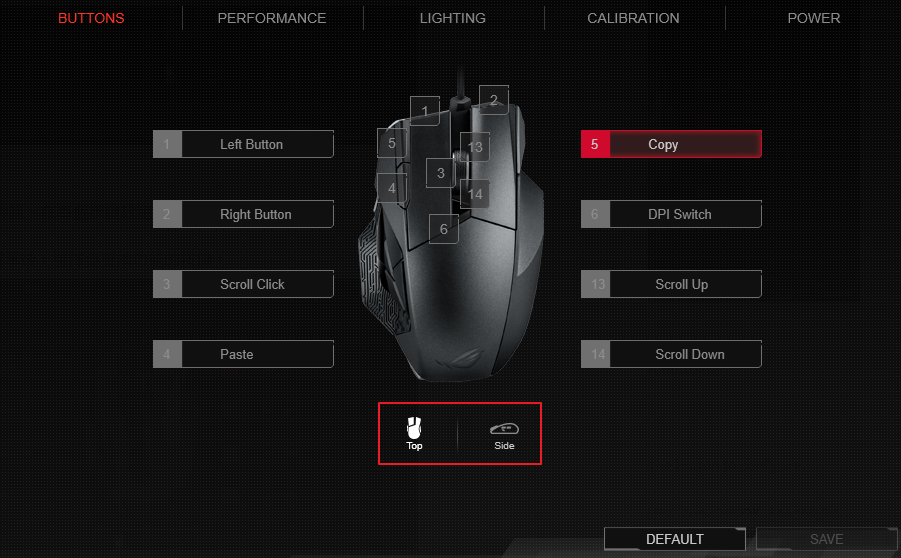
2. Click the drop down menu and select a function and key from the list, and click OK. See the list below for more details on each option.
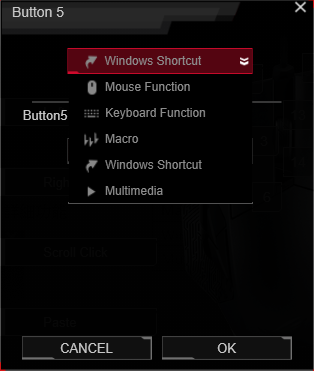
Option | Description |
Mouse Function | Assign a mouse function to the button |
Keyboard Function | Assign an entered key to the button |
Macro | Assign a macro to the button |
Windows Shortcut | Assign a Windows shortcut function to the button |
Multimedia | Assign a multimedia control function to the button |
3. Click SAVE to save the change in the selected profile.
PERFORMANCE
In performance menu, user can setup sensitivity, angle snapping, polling rate, acceleration/deceleration and button response. Or click the default to use default value. Refer to the description below to check each function.
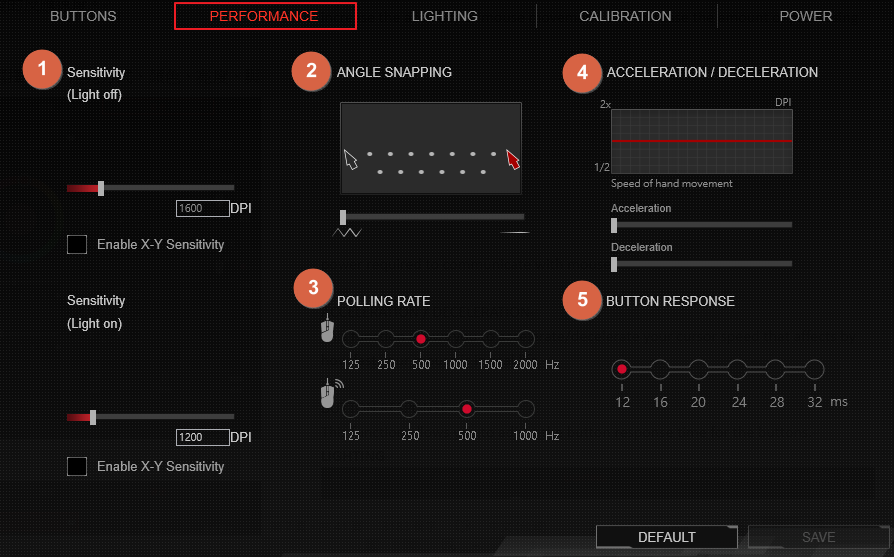
1. Sensitivity (Light off/on)
Set two different DPIs on light on and light off mode. When the light is on, the Sensitivity (Light on) option is operating, when the light is off, the Sensitivity (Light off) option is operating.
2. ANGLE SNAPPING
This function allows you to adjust the mouse correction – a method which artificially smooths out mouse movement. Drag the bar to the right for higher mouse correction, or drag the bar to the left for less mouse correction.
3. POLLING RATE
This function controls the rate on how often the mouse reports its position to the computer in wired mode or wireless mode . A higher polling rate may increase the accuracy of mouse movement, and increase the amount of processing power required to communicate with mouse.
4. ACCELERATION / DECELERATION
This function allows you to accelerate/decelerate your cursor speed that affects by how fast your mouse is in real life.
5. BUTTON RESPONSE
This function allows you to adjust the button response time for the buttons.
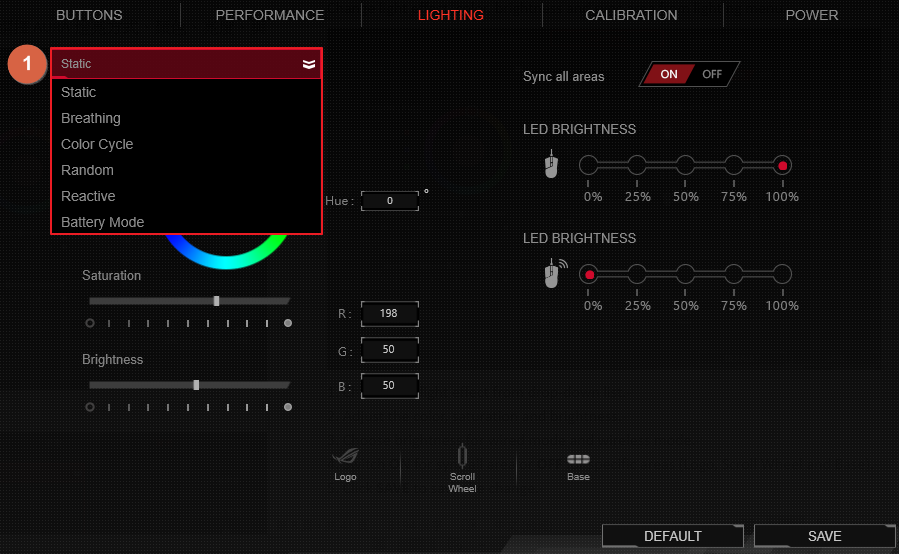
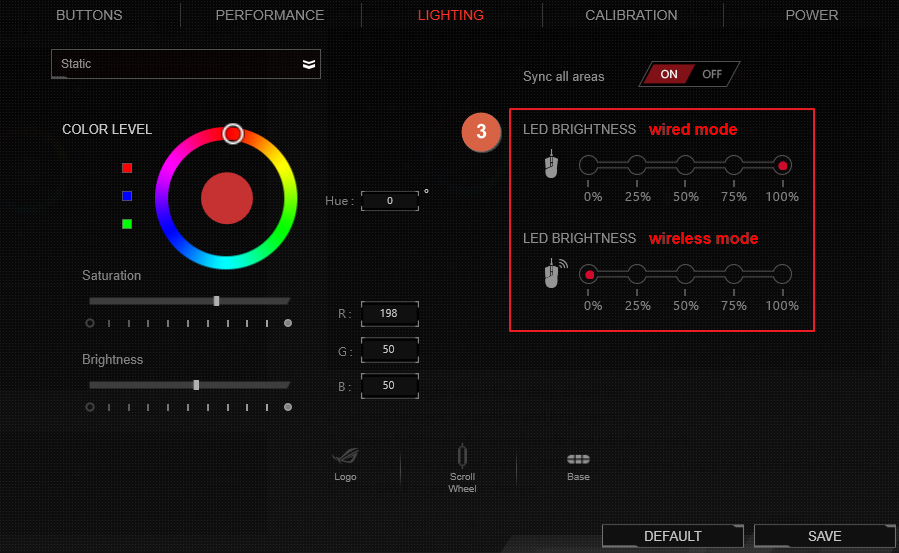
LIGHTING
Change light effect, color, brightness and sync area from lighting menu.
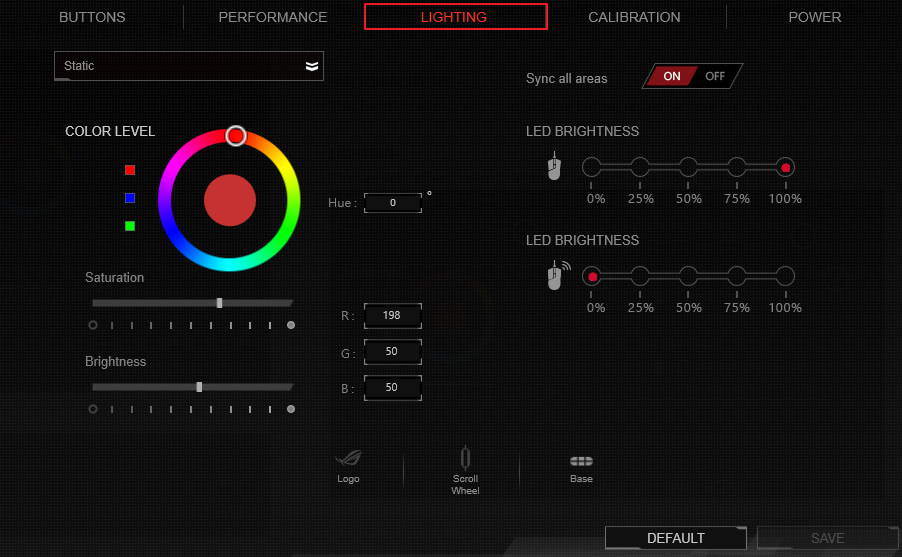
1. Choose the light effect from drop-down list.
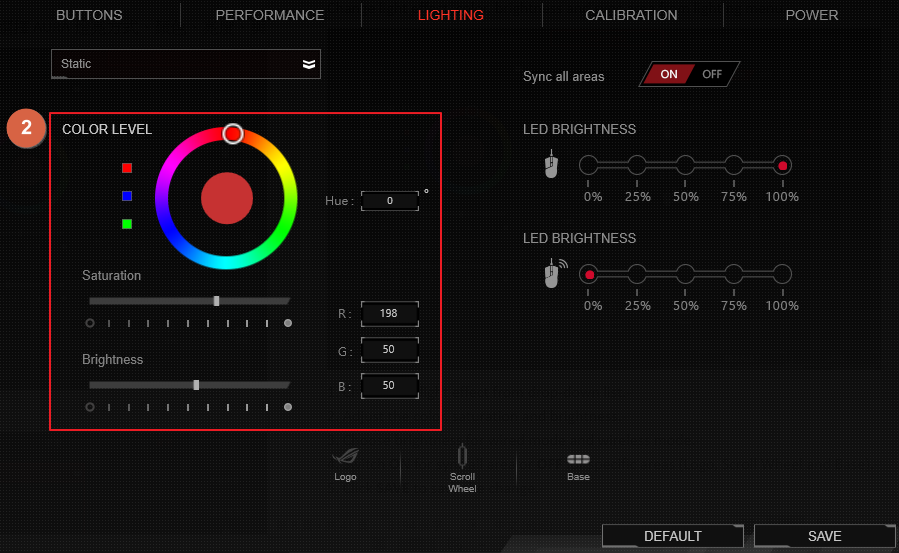
2. Adjust the color, saturation and brightness.
3. Choose brightness for wired mode and wireless mode.
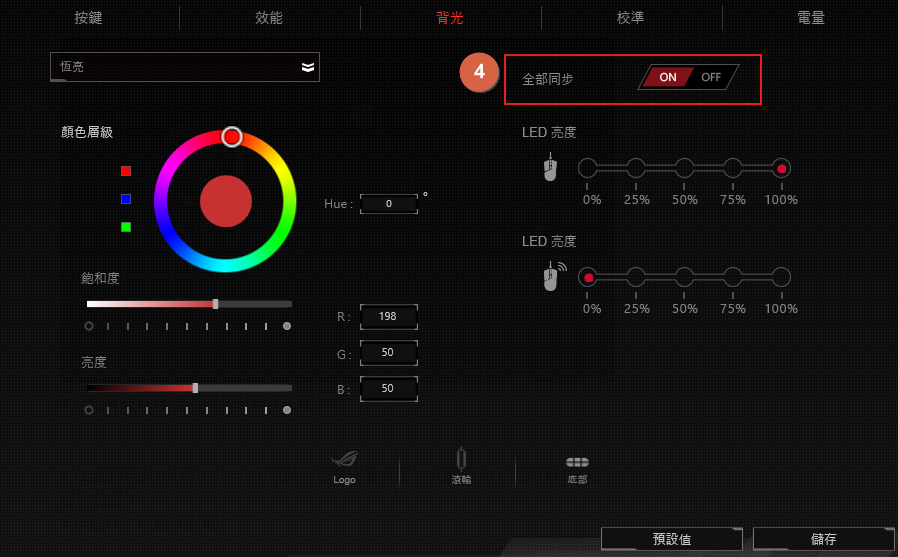
4. Switch ON for sync all area.
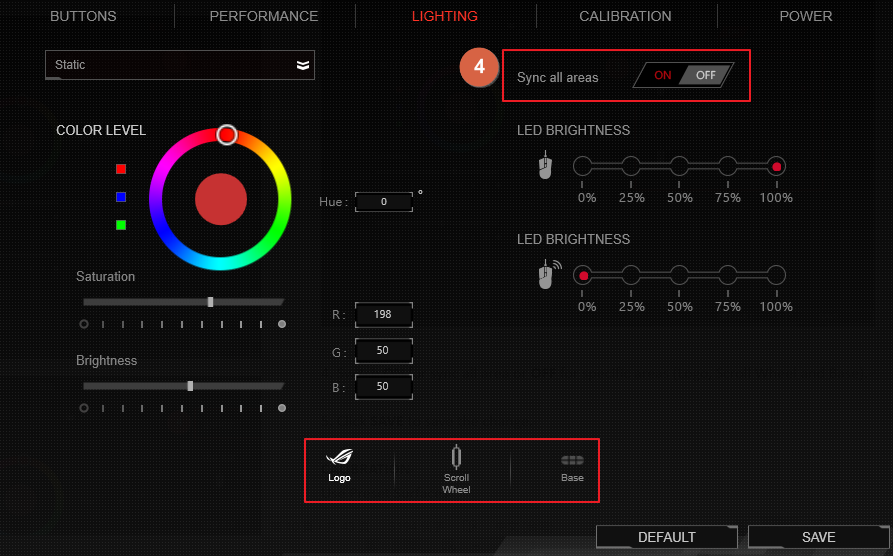
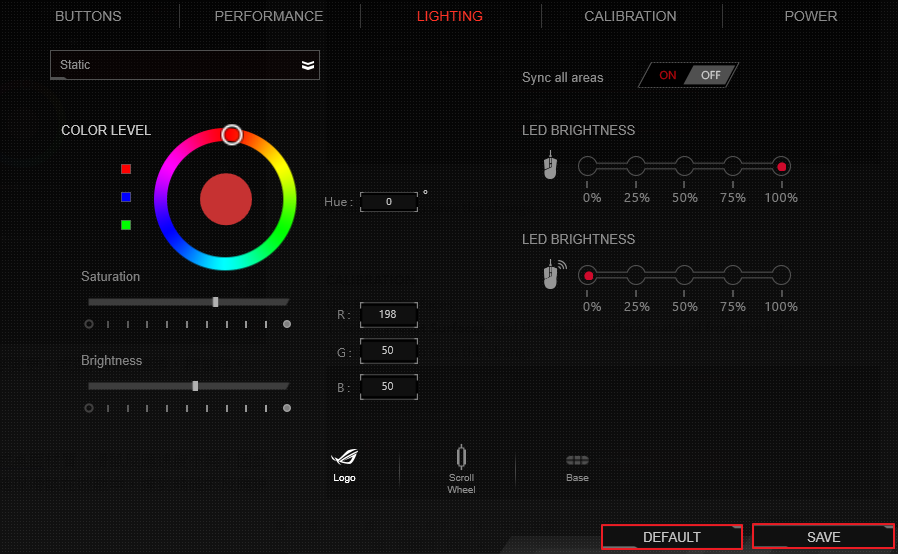
5. Or Switch Off the sync all areas and choose one specific area(Logo, Scroll wheel or Base)
5. Click SAVE to save the change.
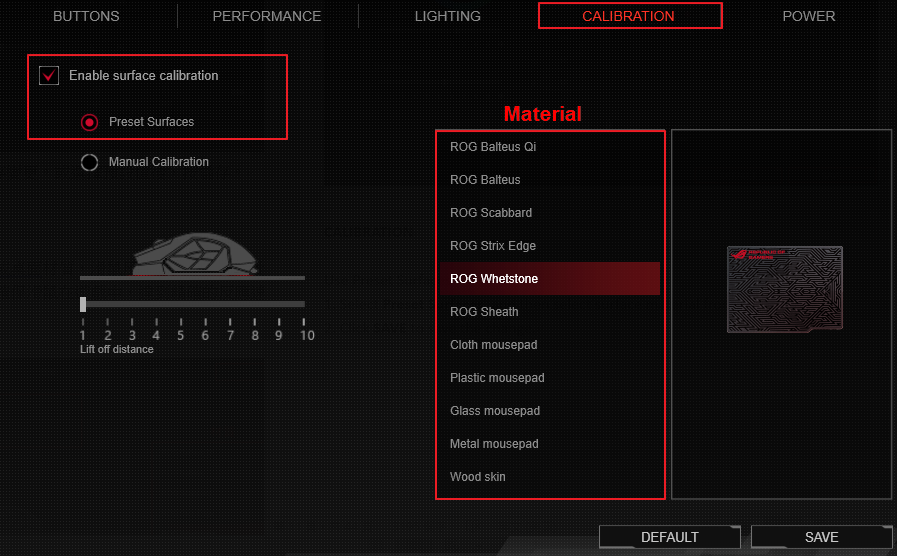
CALIBRATION
Mouse response time is not the same on different surface, calibration function provide user to correct the response time to accuracy.
Use Preset Surfaces
1. Select Preset Surfaces, and then select surface material from the list.
2. Click SAVE to save the change.
Use Manual Calibration
If you can’t find the suitable material on the preset list, use manual calibration to correct.
1. Select Manual Calibration, click SAVE.
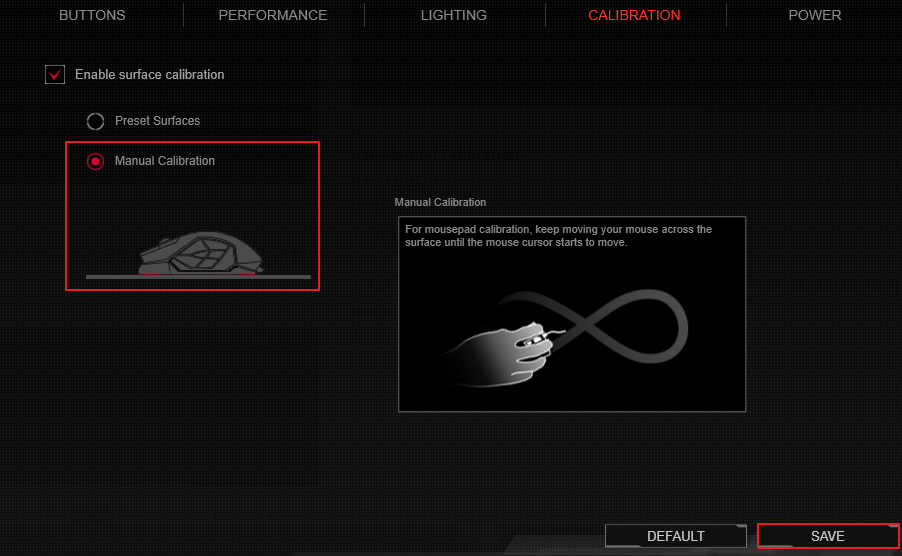
2. For mousepad calibration, keep moving your mouse across the surface until the mouse cursor starts to move.
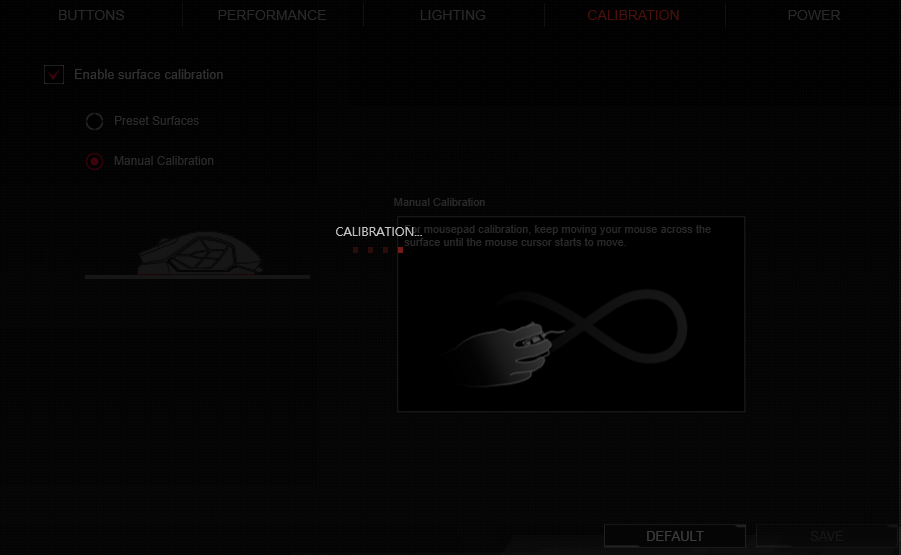
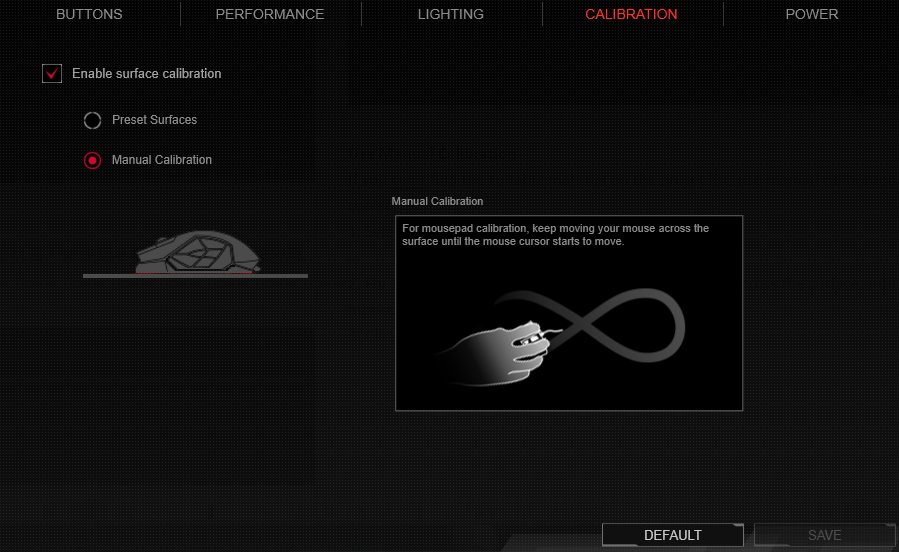
3. When the screen below appears, calibration process is done .
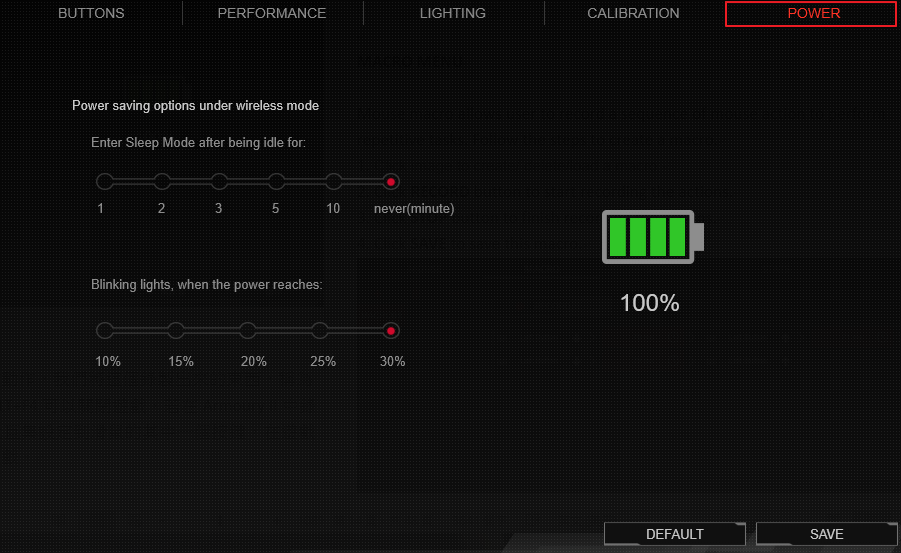
POWER
User can set the time-period before mouse is idle under wireless mode. User can also set the percentage of power to blink lights when the power reach the setting value.
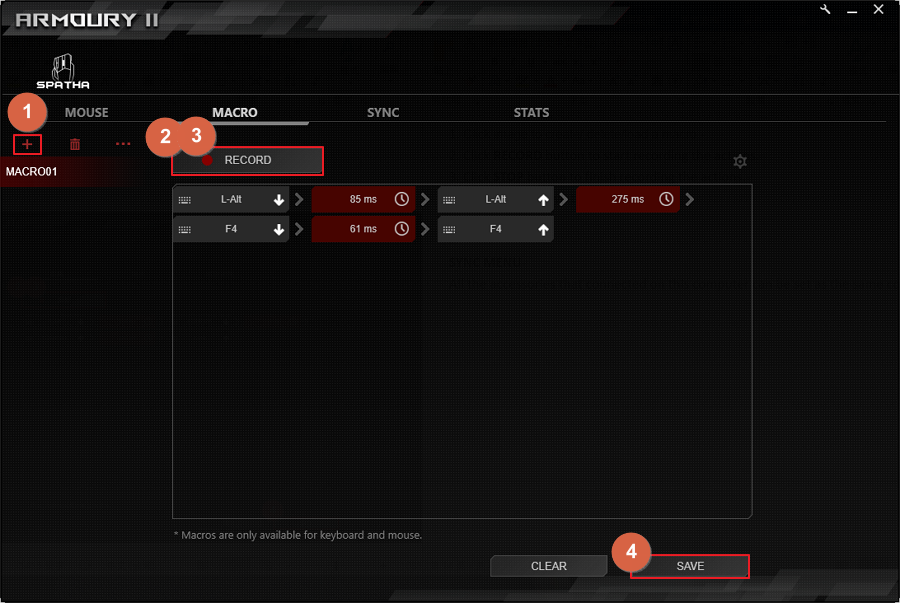
MACRO MENU
Mouse macro allows user to record a sequence of mouse action to perform repetitive tasks. For example, in World of Warcraft, click ALT+F4 will close the program, user can record a macro “ALT+F4”, and setup this macro to a mouse button. When user press this button during the World of Warcraft, program will be close. Follow the steps to create a macro.
1. Click image to create/ delete/load a macro.
2. Click RECORD button to start recording the actions.
3. Click STOP button to finish recording the actions.
4. Click SAVE to save this macro.
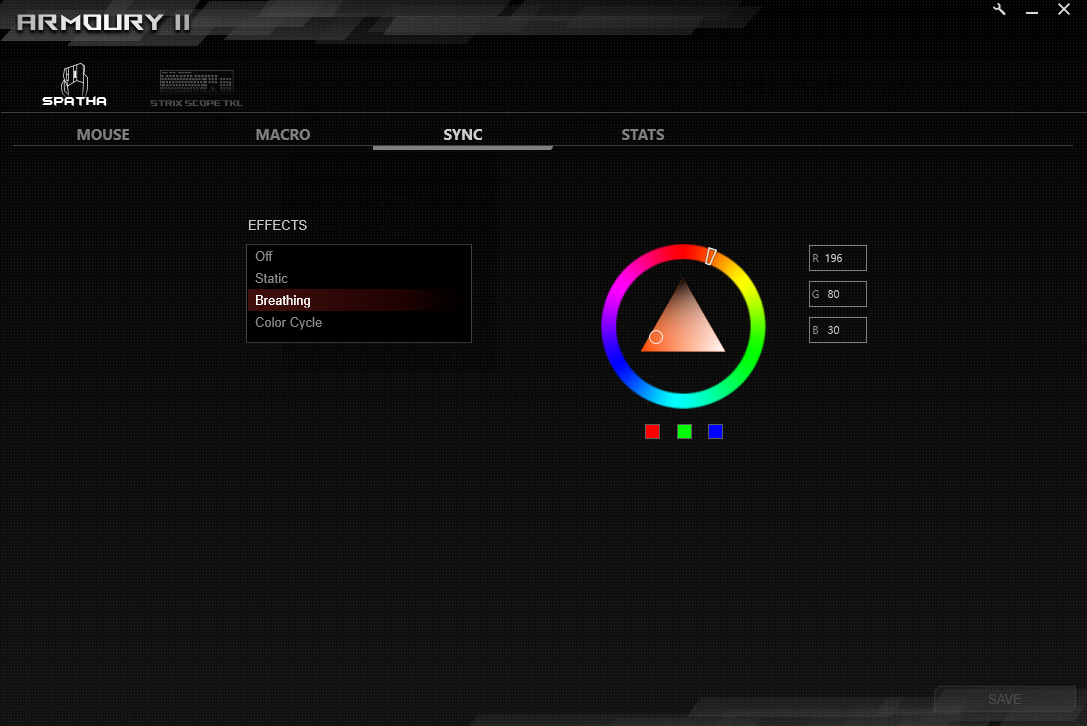
SYNC MENU
All the accessories that connected on this computer can be set as the same color.
FAQ
Question: My Armoury II is unable to detect my mouse.
Answer: Please remove the mouse from your computer, and plug it again. If mouse is still unable to be detect, update firmware and Armoury II software. If your problem can not be solved, contact ASUS Service Center.
*How to get the (Utility/ Firmware/BIOS Name)?
You can download the latest drivers, software, firmware and user manuals in the ASUS Download Center.(LINK)
If you need more information about the ASUS Download Center, please refer this link.
