This widget could not be displayed.
This widget could not be displayed.
Turn on suggestions
Auto-suggest helps you quickly narrow down your search results by suggesting possible matches as you type.
Showing results for
- English
- Other Products
- FAQ
- [Permission Management] How to set up RADIUS Serve...
Options
- Subscribe to RSS Feed
- Mark as New
- Mark as Read
- Bookmark
- Subscribe
- Printer Friendly Page
- Report Inappropriate Content
Community Manager
Options
- Article History
- Subscribe to RSS Feed
- Mark as New
- Mark as Read
- Bookmark
- Subscribe
- Printer Friendly Page
- Report Inappropriate Content
on
01-29-2024
02:04 AM
- edited on
04-16-2025
03:07 AM
by
![]() ZenBot
ZenBot
[Permission Management] How to set up RADIUS Server for BRT Series?
How to set up RADIUS Server – BRT Series
802.1X EAP authentication with WPA is commonly used to authenticate users and client devices in today's business environment. BRT-AC828 comes with a built-in RADIUS server, which allows you to quickly create an 802.1X authentication network for Wireless Access or Captive Portal authentication. Since only the permitted users can access the network, RADIUS server just adds extra layer of security to your network access.
Configure RADIUS server
To create a user account:
1. Connect your computer to the router via wired or WiFi connection and enter your router LAN IP to the WEB GUI.
Note: Please refer to How to enter the router setting page(Web GUI)to learn more.
2. Key in your router's username and password to log in.
Note: If you forget the user name and/or password, please restore the router to the factory default status and setup.
Please refer to [Wireless Router] How to reset the router to factory default setting? for how to restore the router to default status.
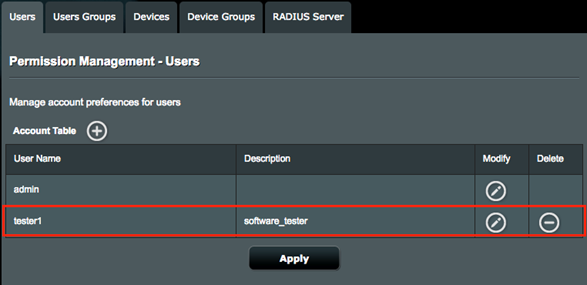
3. From the navigation panel, go to General > Permission Management page.

4. Click the + (add) icon to create a user account.
5. Fill out the following fields, and click Apply.
A.User name: Enter a name for the user.
B.Password: Enter a password for the user.

The user is added to the account table.
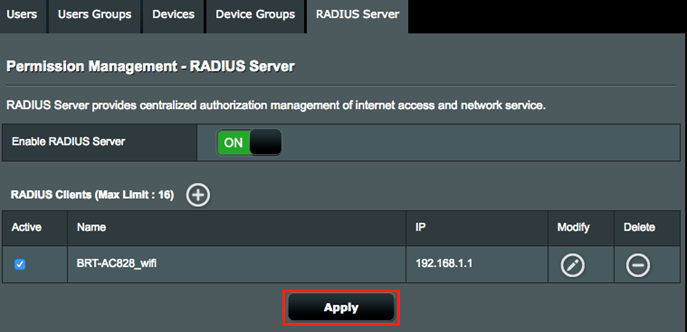
Configure RADIUS client settings
1. Click RADIUS Server tab, and enable RADIUS Server.

2. Click the + (add) icon to add permission for the RADIUS client.
A.Enter the Name and Password.
B.Enter the IP address of your Wireless Router or the Access Point. For local wireless network devices, please enter your router’s IP address “192.168.1.1” as the RADIUS client’s IP address. Otherwise, please enter IP address “192.168.1.x”, which belongs to the same LAN as the BRT router.

3. After the RADIUS client is created, click Apply to save your settings.
Configure wireless network on ASUS wireless router
1. Key in your router LAN IP or router URL http://www.asusrouter.com on your web browser.
- Enter the new IP address if you have already changed the default login IP address.
- If you have forgot the new IP address, you can retrieve it by using the network tool “Device Discovery”.
2. On the login screen, key in the default user name (admin) and password (admin), then click OK. Web GUI of the wireless router launches
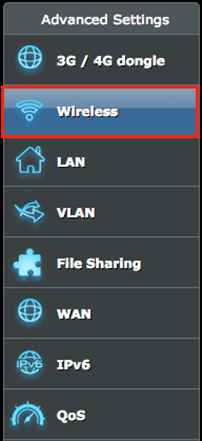
3. From the navigation panel, go to Advanced Settings > Wireless page.
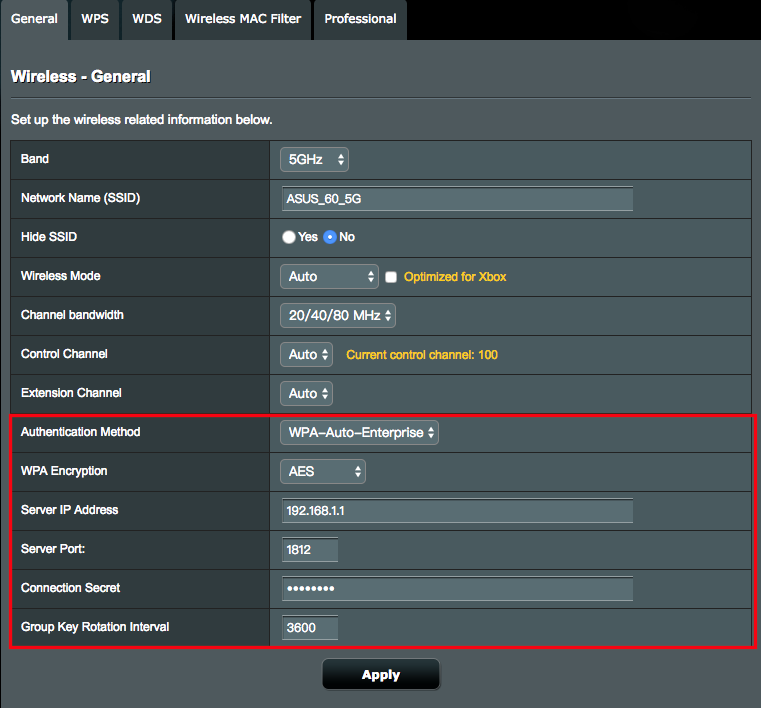
4. Configure your wireless network settings, and click Apply.
Band: Select the frequency band.
Authentication method: Select WPA2-Enterprise or WPA-Auto-Enterprise.
Serve IP address:Fill out the IP address for the RADIUS server, ex. 192.168.1.1.
n The IP address of the RADIUS server is the same as the gateway IP address.

Connection Secret: Enter the password of the RADIUS client in the Connection Secret field to allow the RADIUS client to get user account information.
Connect to 802.1X network
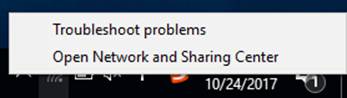
1. From Windows taskbar, right-click the network icon, then click Open Network and Sharing Center.
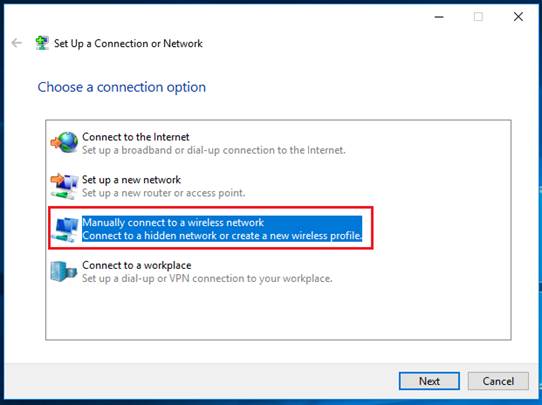
2. Click Set up a new connection or network.

3. Click Manually connect to a wireless network, and then click Next.
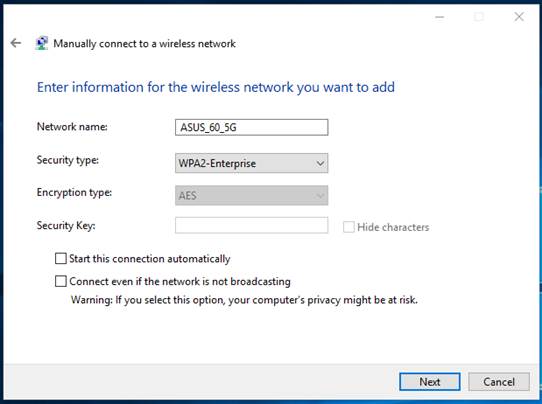
4. Configure the following wireless network settings, and then click Next.
- Network name: Enter your wireless router SSID. Enter “ASUS_BRT828” for this setting example.
- Security type: Select WPA2-Enterprise.
- Start this connection automatically: Uncheck this item.
5. Click Change connection settings.

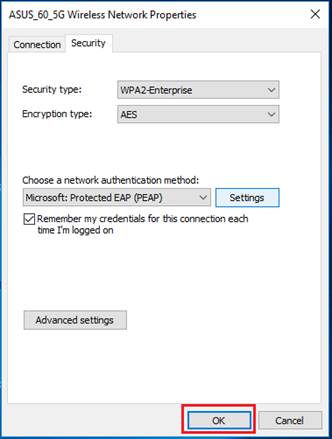
6.Click the Security tab and then click Settings.

7. Uncheck Verify the server’s identity by validating the certificate, and then click Configure.

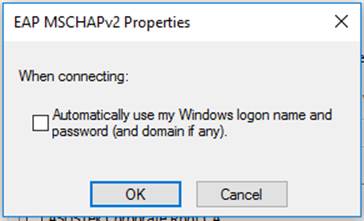
8. Uncheck Automatically use my Windows logon name and password, and then click OK.
9.Click OK to close the Protected EAP Properties window.

10.Click Advanced settings from the Security tab.

11.Check Specify authentication mode, select User authentication from the drop-down list, and then click Save credentials.

12. Enter the username and password, and click OK.

13. Click OK on the Security tab to save your settings.
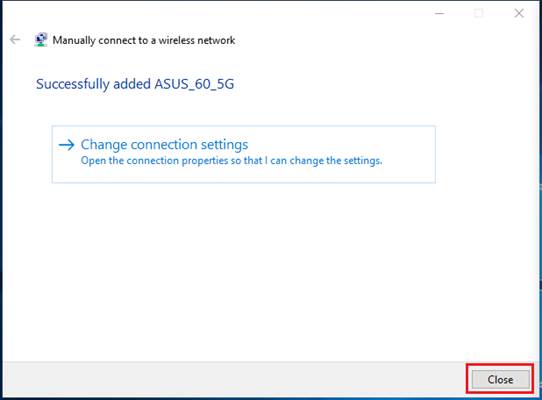
14. Click Close to exit the network settings window.
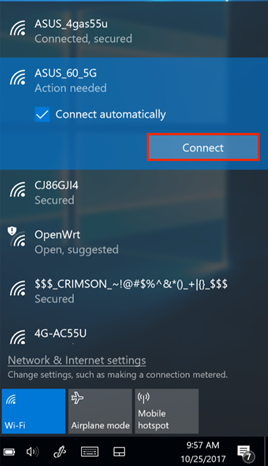
15. Click the network icon from the taskbar. Select the network you just set up, and click Connect.
16. When all done, you’ll see Connected beside the SSID.

17. Click Properties below the SSID to display the wireless network information.
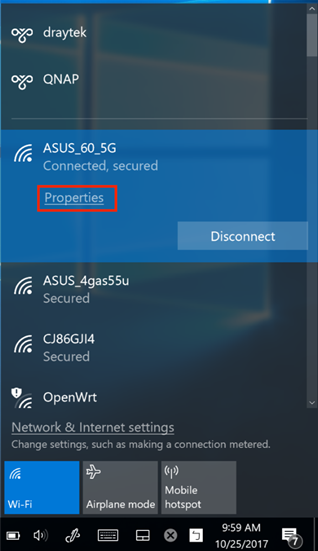
18. The wireless network information displays at the bottom of the panel. Now you can see you are connected to a WPA2-Enterprise network.

How to get the (Utility / Firmware)?
You can download the latest drivers, software, firmware and user manuals in the ASUS Download Center.
If you need more information about the ASUS Download Center, please refer this link.
