- English
- Other Products
- FAQ
- [Gaming NB] AniMe Vision Display Introduction
- Subscribe to RSS Feed
- Mark as New
- Mark as Read
- Bookmark
- Subscribe
- Printer Friendly Page
- Report Inappropriate Content
- Article History
- Subscribe to RSS Feed
- Mark as New
- Mark as Read
- Bookmark
- Subscribe
- Printer Friendly Page
- Report Inappropriate Content
on
01-29-2024
04:27 PM
- edited
a week ago
by
![]() ZenBot
ZenBot
[Gaming NB] AniMe Vision Display Introduction
Preference Settings Introduction
Featuring a first-of-its-kind AniMe Vision display which offers deep personalization in a truly unique way.
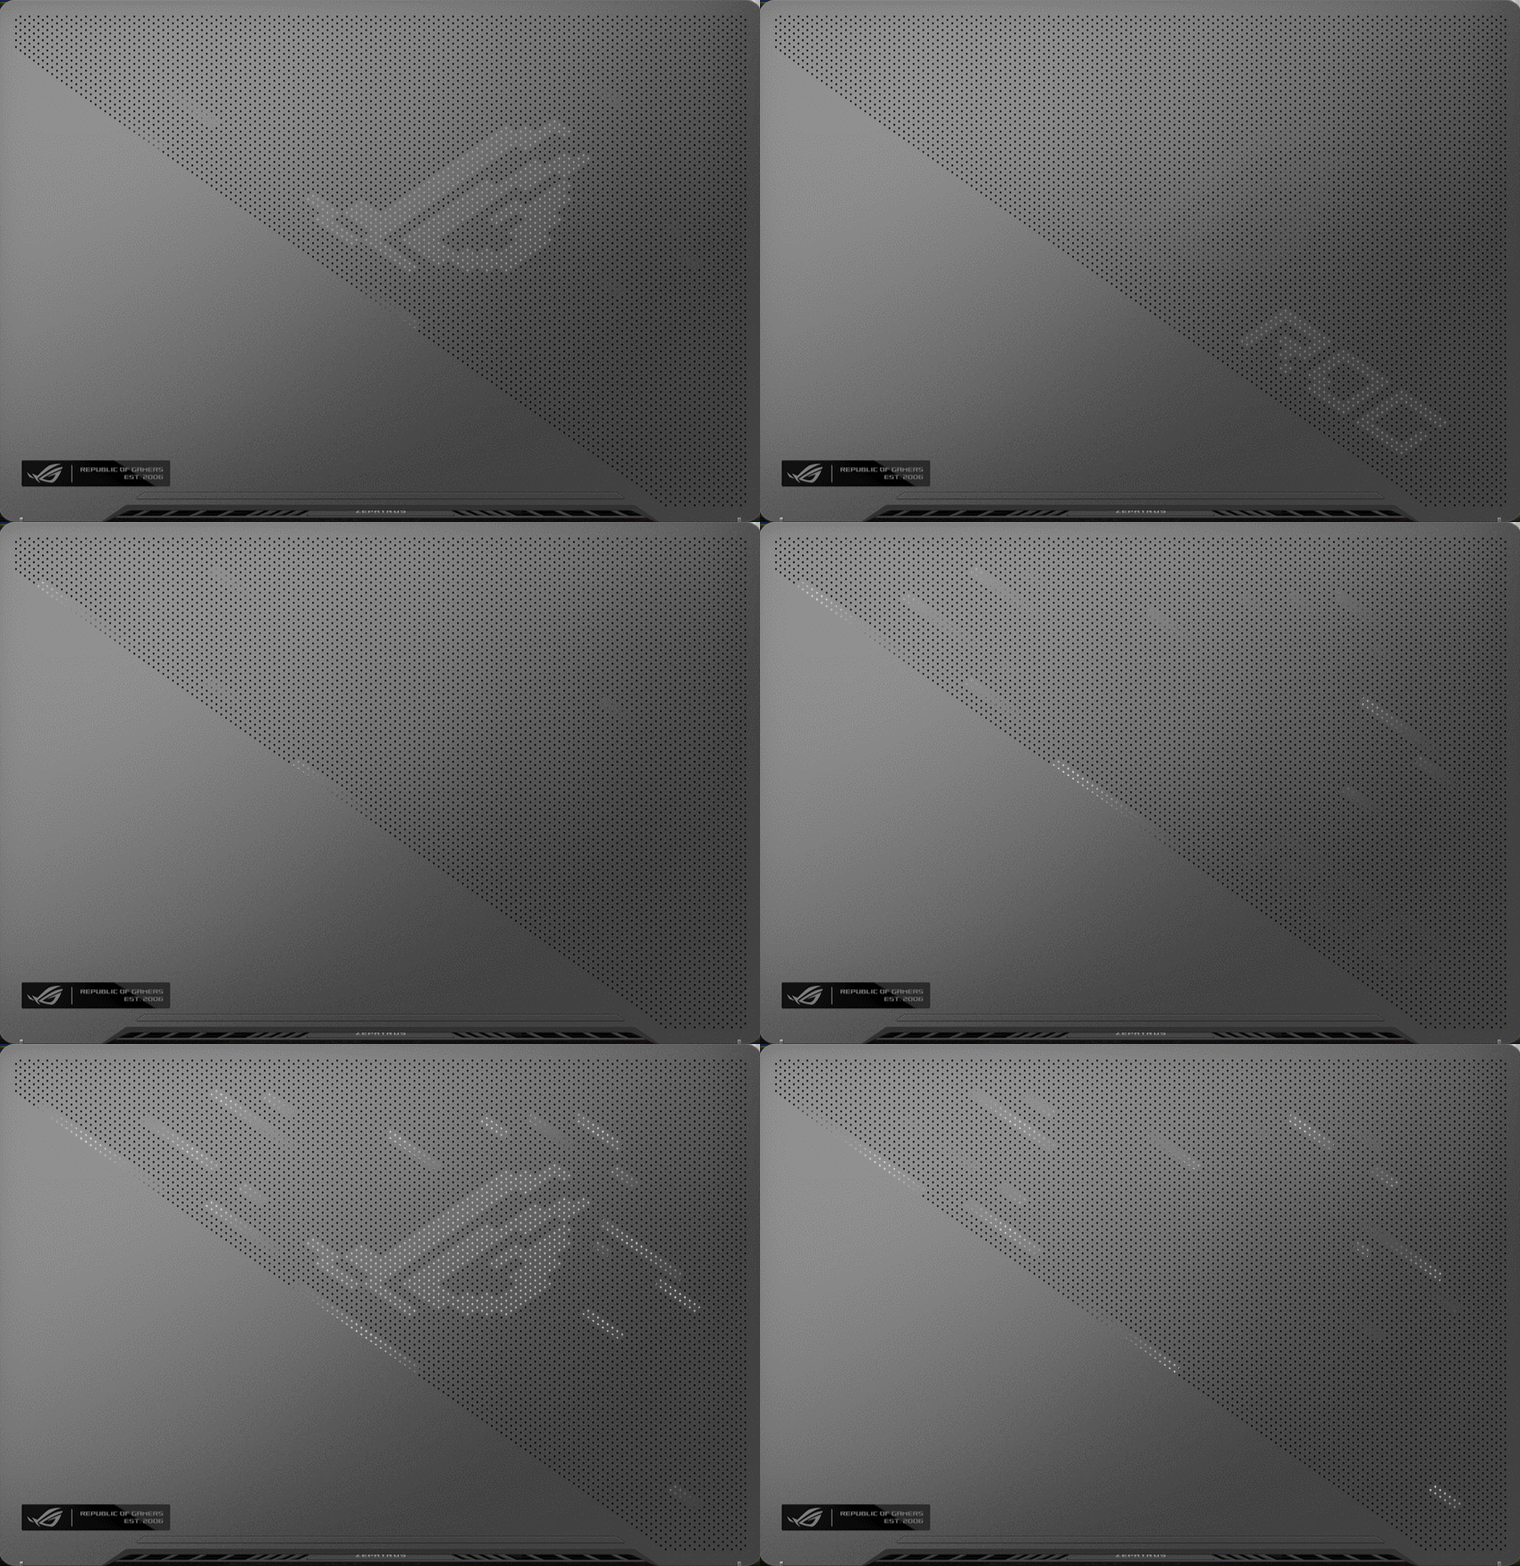
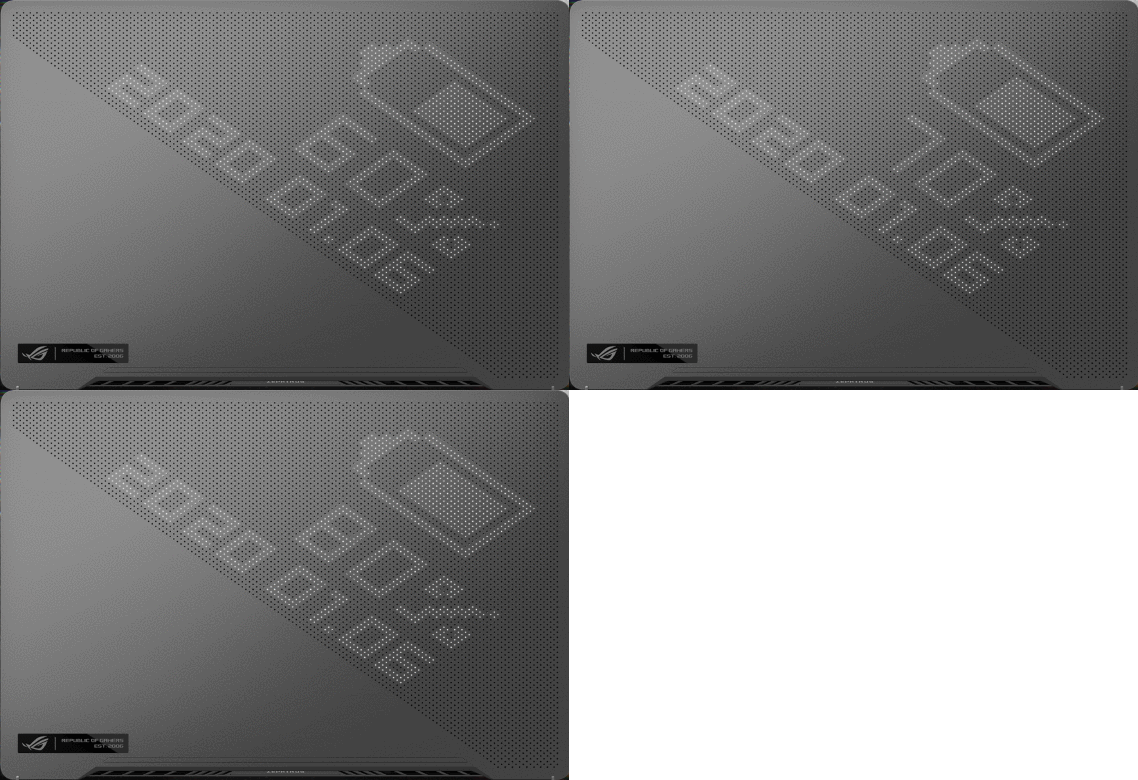
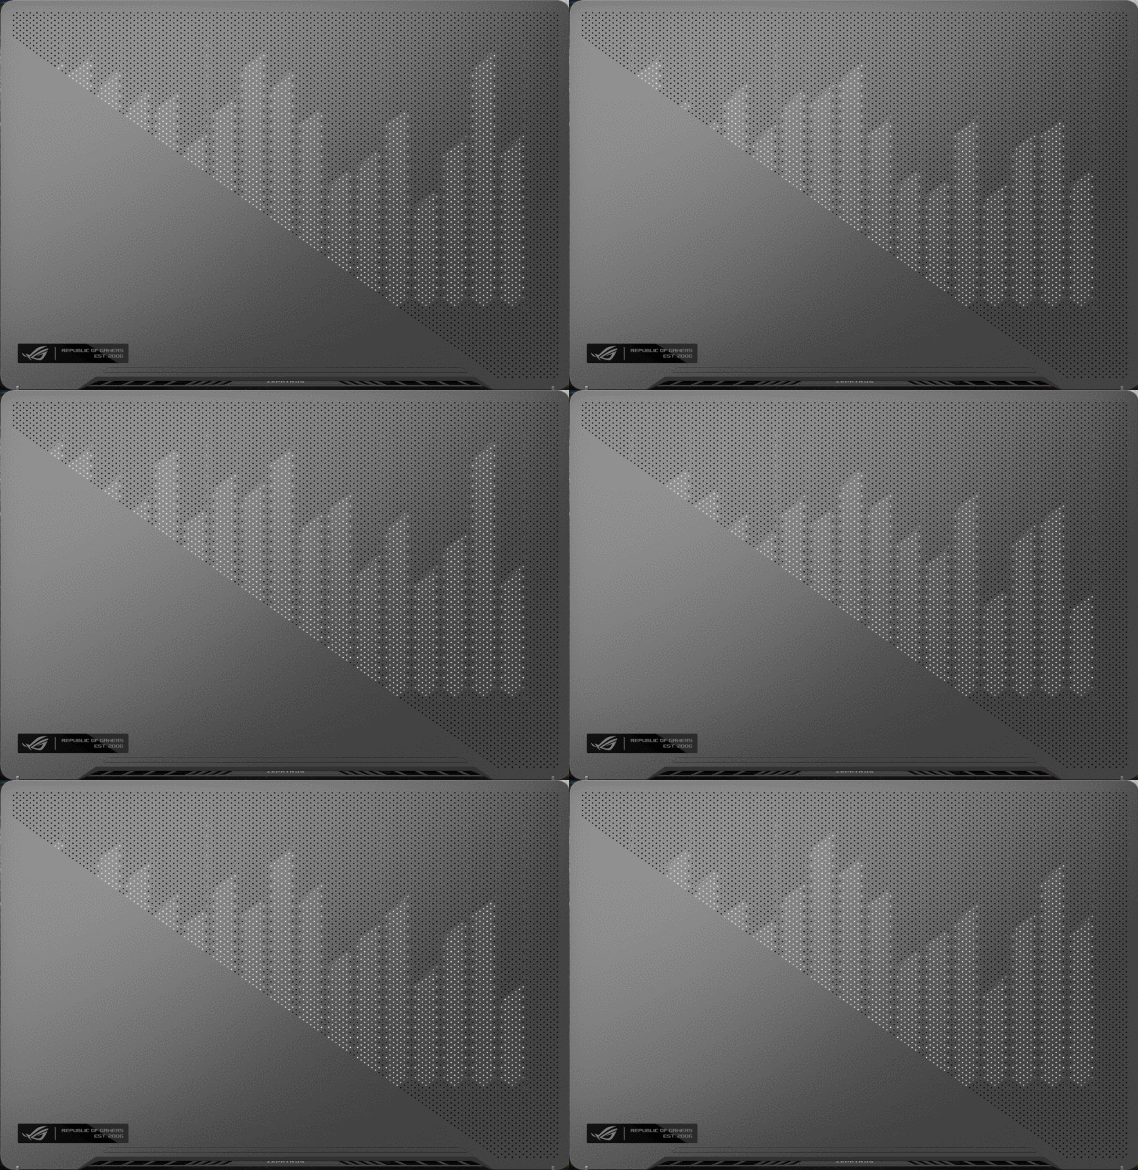
The groundbreaking display is made up of thousand individual mini-LEDs that can be used to display customized images, animations, and expresses your creativity, audio visualizations that match the music playback. The status notifications keeps you in the loop on new messages, battery life, and more.
| Animation Mode | System Mode | Audio Mode |
 |  |  |
ROG Zephyrus G14 (GA401 and GA402 series with AniMe Vision Display supported), ROG Zephyrus M16 (2023 GU604V with AniMe Vision Display supported), and 2025 ROG Strix SCAR 18 G835& SCAR 16 G635.
AniMe Vision Display application has been integrated into the Armoury Crate application. The custom settings of AniMe Vision Display need to be adjusted via Armoury Crate.
Please upgrade the Armoury Crate application to version V6.0 or above.
(If AniMe Vision Display is not supported on your laptop, the settings of AniMe Vision Display will not show up even if you have updated Armoury Crate up to V6.0 or above.)
Please refer to the introduction of Armoury Crate. Learn more at How to install and update Armoury Crate.
Please type and search [ARMOURY CRATE]① in the Windows search bar, and then click on [Open]②.

In Armoury Crate Home page, click [AniMe Vision]③ to enter AniMe Vision lighting effect page.

Preference Settings Introduction
In AniMe Vision Home page, please select [Preference Settings] to get into Laptop Preferences.


①AniMe Vision Lighting: When set to [ON], the AniMe Vision lighting effect will be activated.
②Power and Sleep Settings-Sleep mode: Select this option to maintain your customized lighting effects when the computer enters sleep mode.
③Power and Sleep Settings-Lid closed: Select this option to maintain your customized lighting effects when the computer lid is closed.
④Power and Sleep Settings-Turn off when adapter is unplugged: Select this option to turn off the AniMe Vision lighting effects when the power adapter is removed (i.e., when using battery power). (Even if the [Sleep Mode] or [Lid Closed] options are selected, the AniMe Vision lighting effects will still turn off when the power adapter is removed.)
⑤Animation power saving switch: When set to [ON], your customized animation will be turned off and switched to power-saving mode to reduce power consumption. This switch will automatically revert to [OFF] when the user applies new animation.
⑥Animation power saving-select system animation: You can select different lighting effect animations for various system states (power on/off, sleep, power saving).
※ Note: Power will drop rapidly if lighting is always on.
In AniMe Vision application, click [Home]①, then click [Animation Mode]② to editing mode.

Animation Mode editing

①Insert Image: You can insert a customized image. (It only supports one image at a time. Supported image formats: JPEG, PNG, BMP, GIF.)
②Image resize: Image scaling only supports proportional scaling. If you scale the image beyond the canvas edges, the LEDs will only display the portion of the image within the canvas edges.
③Animation playback unit: When set to [ON], It will set the unit as [Second], whereas turning it off will set the unit as [Loop]. (Use + - keys to adjust.)
④Animation speed: To set the playback speed for a single image file. (Use the slider bar to adjust.)
⑤Pixel Editor: Users can create unique animation lighting effects using the Pixel Editor.
⑥Play preview: Preview the configured animation effects.
⑦Add empty slot: Add and delete empty slot.
Animation Mode Content Library

①Download More: Link to the Content Platform in the Armoury Crate application to download more free lighting effect animations.
②Customized Content Library: The contents saved by yourself. (Select and drag in content from the library to the animation slot.)
③ROG Gallery: The ROG gallery provided by ASUS. (Select and drag in content from the library to the animation slot.)
Animation Settings
Through the Animation settings, users can modify a slot contrast, brightness and delay time between every slot.
*Use the slider bar or enter the values to adjust.

Animation Mode Text Effects

①Text Effects: When set to [ON], it will turn on the text effect.
②Hide other effects: When set to [Check], other effects will be invisible and it only displays the text effect on the LEDs.
③Text Rows: Select how many text rows you would like to display on the LEDs. The default amount is 2 rows. (You can select between 2, 3, 5, and 6 rows.)
④Input Texts: Input the texts you would like to display on the LEDs.
⑤Text font: Select the type of fonts you would like to display on the LEDs.
⑥Speed: Set the speed of scrolling text. You can use the slider bar or enter the values to adjust, and the default speed value is 5.
※ After all of the settings are completed, please click [Apply Effect] button so that your customized lighting effects will appear on the LEDs properly.

In AniMe Vision application, click [Home]①, then click [System Mode]② to editing mode.

Notification Settings
Users can display system notification information such as [Battery Level], [Mail], [Clock], [Alarm], [Date], and [Calendar] on the AniMe Vision display by selecting the corresponding checkboxes.

※ After all of the settings are completed, please click [Apply Effect] button so that your customized lighting effects will appear on the LEDs properly.

In AniMe Vision application, click [Home]①, then click [Audio Mode]② to editing mode.

Audio Mode Settings
You can choose any application to play the audio file, and make sure there is sound output. After that, turn on [Show visualizer], then it will preview Audio Mode effect on the canvas.

①Show visualizer: The music mode effects will only be activated when this switch is set to [ON].
②Show Spectrum: Six preset music mode effects are available for selection.
③Effect Multiplier: Adjust the intensity of the lighting effects' animation by sliding the drag bar or directly entering numbers. The default is 0.
④Show Track Info: [Check] to display the desired audio source information.
Audio Mode Text Effects

①Text Effects: When set to [ON], it will turn on the text effect.
②Text Rows: Select how many text rows you would like to display on the LEDs. The default amount is 2 rows. (You can select between 2, 3, 5, and 6 rows.)
③Input Texts: Input the texts you would like to display on the LEDs.
④Text font: Select the type of fonts you would like to display on the LEDs.
⑤Speed: Set the speed of scrolling text. You can use the slider bar or enter the values to adjust, and the default speed value is 5.
※ After all of the settings are completed, please click [Apply Effect] button so that your customized lighting effects will appear on the LEDs properly.

In AniMe Vision application, click [AniMe Vision Sync] to settings.

If you have two or more devices that support AniMe Vision, you can easily unlock and enable AniMe Vision Sync to display the theme animation across all devices.

①Content: When the conditions are met, you can unlock theme lighting effect animations from the content library.
②Apply Effect: After selecting the content library you need, click [Apply Effect] to execute the lighting effect playback.
Question 1: Why the lighting doesn't work after it goes to Sleep mode even though I've set the lighting to stay activated in Sleep mode ?
Answer 1: In the following scenarios, the lighting effects are not supported in sleep mode.
Scenario 1: The lighting effect is not supported when the system enters Sleep mode via pressing the power button.
Scenario 2: The lighting effect is not supported when connecting your device to the AC adapter after the system enters Sleep mode. (Even when the switch [Turn off when adapter is unplugged] has been set to [Check].)
Question 2: How to get more information about operation steps in AniMe Vision?
Answer 2: While operating, you can click  "Quick Tips" for more information about operation steps.
Question 3: Why AniMe Vision Lighting will stay activated or is not like the customized settings I set up after the system goes to Sleep/Hibernate mode or the Lid is closed?
Answer 3: Please refer to Preference Settings Introduction about [Power and Sleep Settings] and [Power-Saving Animation] setting.
Question 4: How do I import a file completed in Pixel Editor into AniMe Vision in Armoury Crate?
Answer 4: In [Animation Mode]①, click on [Insert Image]②, and import the file with the .webmatrix extension exported from Pixel Editor to apply it.

Question 5: Why can't I use AniMe Vision Sync even though my laptop supports AniMe Vision?
Answer 5: You must connect at least 2 AniMe Vision devices and update the related device drivers to unlock and apply the theme lighting effects.

